Friday, September 9, 2022

Pulled Pork Ole

I love a delicious pulled pork anytime of year. It's great for tacos and salads - and even piled high on a big baked potato. I've been wanting to experiment with liquid smoke so that was the inspiration for this pork butt.

Here's what you'll need

  • 1 - 4 oz bottle of liquid smoke. I used pecan by Colgin. Amazon sells an assortment of four. I randomly selected the pecan.
  • In a large Pyrex measuring cup or medium bowl, combine the liquid smoke with:
  • 1 Tablespoon Worcestershire sauce
  • 1 Tablespoon fresh ginger peeled and sliced (or 1 teaspoon dried ginger if you don't have fresh)
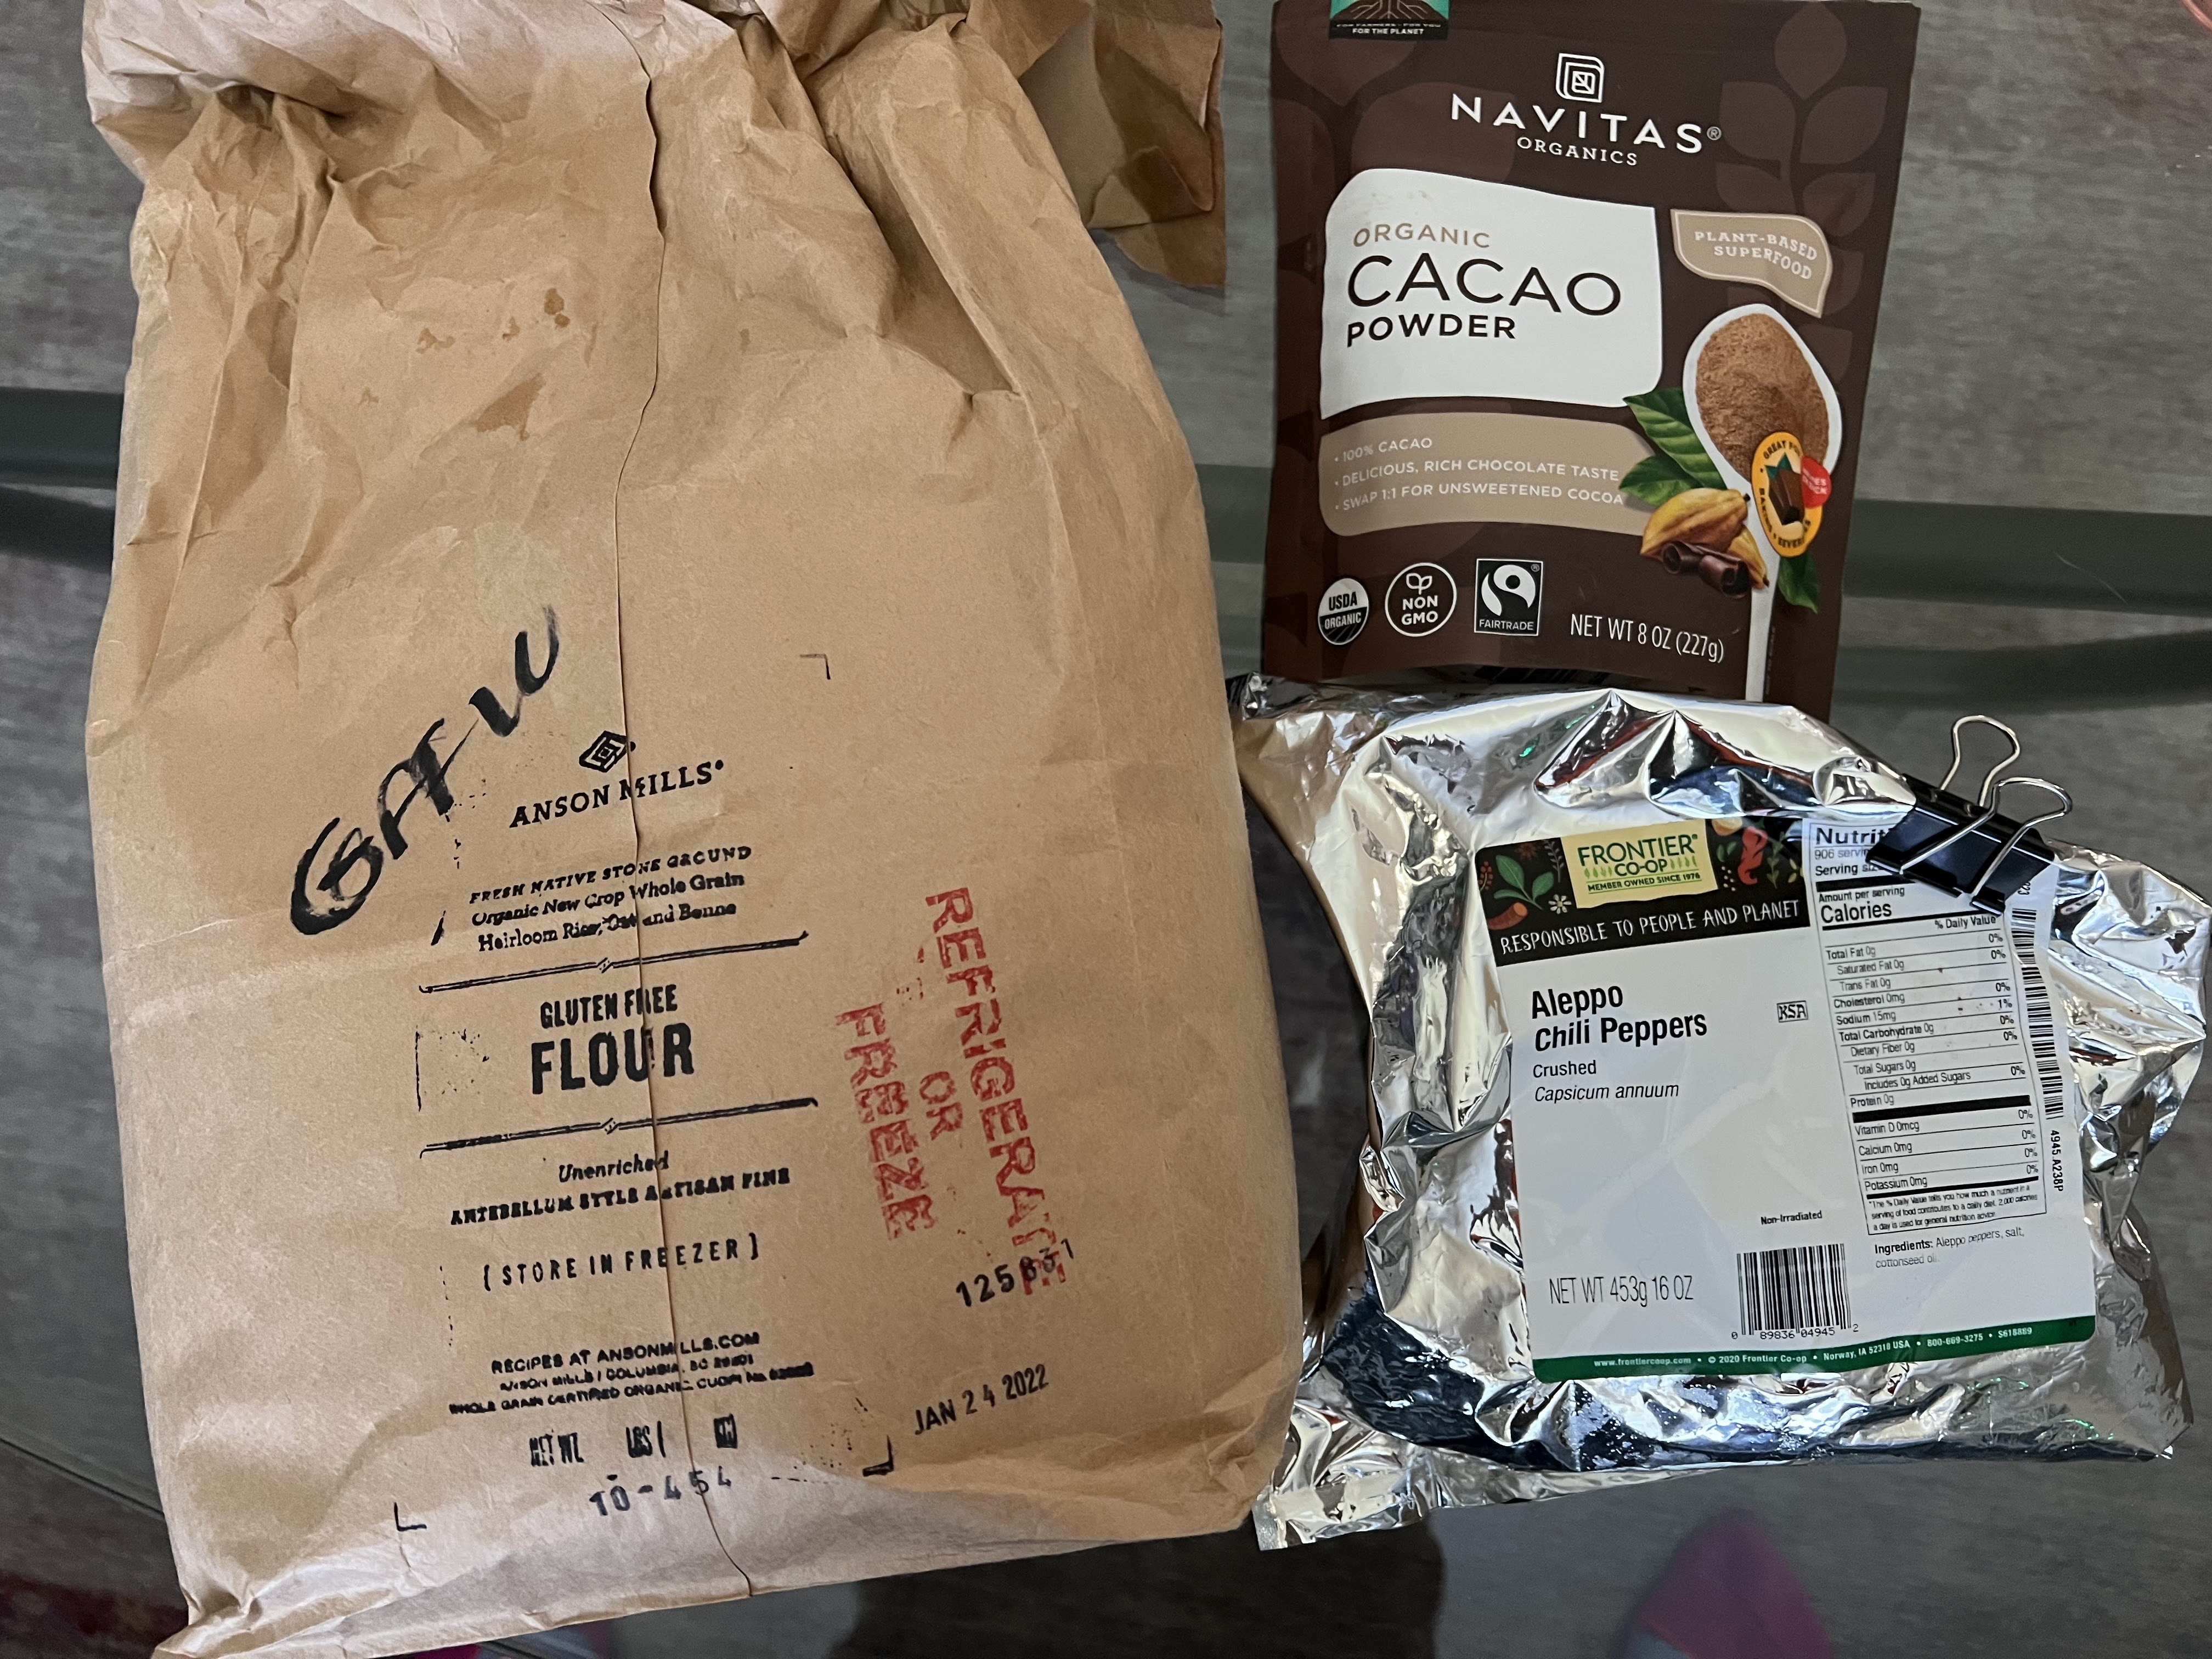
  • 1 Tablespoon Aleppo dried chilis
  • 1 teaspoon onion powder (or one fresh onion peeled and chopped)
  • 1 teaspoon ground cumin
  • 1 teaspoon ground coriander
  • 1 heaping teaspoon dried oregano
  • 5 peeled and chopped fresh garlic cloves
  • 2 bay leaves
  • 5 fresh small tomatoes washed and chopped
  • juice from 2 oranges
  • juice from 2 limes
  • 1-2 mild fresh chilis chopped
Liberally salt and pepper the roast. Add olive oil to the pot and brown all sides on the stove on medium to medium high heat. You shouldn't see any red meat when you're done.

You want to brown the pork first BEFORE adding the above marinade
  • 2.5 pound pork roast/butt
  • 2-3 Tablespoons good olive oil
  • salt and pepper
  • Large pot with a lid that can go in the oven


Combine marinade with the pork butt and place on middle rack in the oven. Bake for 5 hours at 254 degrees.

Serve with tortillas or on a bed of salad greens with cheese, avocados, and fresh tomatoes plus 1-2 Tablespoons of the cooked meat juice.

If you're a coleslaw lover, I made a slaw with a small cabbage head chopped, 2-3 carrots shaved, 1 teaspoon each cumin and celery seeds, 1/4 cup each apple cider and white balsamic vinegar, plus a bit of Trader Joe's organic mayo.

Bon Appetite!


Friday, July 8, 2022

Bodacious Brownies

Brownies are a real treat for me. I can eat them with a side of yogurt and a cup of coffee in the a.m. or a scoop of vanilla ice cream in the p.m. So basically totally yummy day or night.

The fundamental 'secret' to bodacious brownies is to use fabulous chocolate. And if you can afford it since it often costs more, purchase Fair Trade Certified. I also use a Gluten Free Flour from Anson Mills that has a great texture and taste for baking.

Here's what you'll need:
  • 8 ounces bittersweet chocolate, broken into 1-2 inch pieces
  • 2 sticks unsalted butter (1/2 pound)
  • Optional - 1 Tablespoon Aleppo or Urfa Fiber/Isot ground chilies (you want a mild ground chili)
  • 6 large free range eggs
  • 1/2 teaspoon kosher salt
  • 2 teaspoons real vanilla extract
  • 1/2 cup flour like King Arthur (which has a nice fat content) or Anson Mills gluten free
  • 1/2 cup cocoa powder (not Dutch process)
  • Optional - top with whole hazelnuts or nut of your choice

Preheat oven to 375 degrees and have the rack positioned in the middle of the oven. A 13 x 9 inch glass baking pan is ideal; butter it or I use the Trader Joe's Coconut Oil spray.

Use a double boiler or melt the chocolate and butter in a metal bowl over a saucepan of barely simmering water. Stir until smooth. Remove from heat and whisk in sugar, salt, and vanilla. Whisk in eggs one at a time. Once the eggs are weak combined, sift in the flour and cocoa powder until just combined. Top with whole nuts.

Pour the batter into your greased baking dish and bake until a wooden toothpick comes out clean from the center. Approximately 30 minutes baking. Cool and serve. I store in the refrigerator wrapped in foil or a Tupperware container or freeze in individual cut squares.

Bon Appetite! 


Thursday, January 27, 2022

Carrot, Kale, Potato, & Sausage Comfort Soup


What to do with those carrots you may still have growing in your backyard? Or that kale? (I haven't tried growing potatoes, but did plant garlic last fall thanks to the inspiration from my gardening pal, Musetta.) 
I purchased the remaining produce I needed for this recipe at my farmers market.

My friend Ardell made and shared this soup with me. I've now made and shared with my friend, Musetta, who noted that she thought you could add other vegitables. I agree. 

Modifications have been made to the original recipe reducing the amount of milk, increasing the chicken stock, and adding several cloves of garlic. I hope you find it as delicious as I do, and please email me if you make modifications enhancing it further. 


Here's what you'll need:

1 lb. spicy Italian pork sausage

32 fl. oz. Pacific Foods free range chicken broth, low sodium (or homemade)

1/3 cup heavy whipping cream (or use more 1/2&1/2. I had some whipping cream I needed to use-up)

2 cups 1/2&1/2 (remember when I mentioned this is comfort food)

4-5 green onions, washed and sliced

1 large shallot, cleaned and sliced (you can substitute with a sweet red, white or yellow onion)

3 cups washed, skin on, and cubed organic potatoes (I used a bag of mixed color baby potatoes from Trader Joes)

4 garlic gloves, peeled and chopped

5-7 carrots, peeled and chopped

2 cups washed, center stem removed, torn kale leaves into 1-2 inch pieces

1/2 teaspoon dried oregano

1/2 teaspoon red pepper flakes or less depending on how spicy you like it

1/2 teaspoon dried Ancho chilies (I like Simply Organic)

1/2 teaspoon freshly ground black pepper

1/2 teaspoon kosher or Omnivore salt

Heat a large soup pot over medium heat and crumble sausage into the pot. Cook and stir until brown and cooked through for approximately 10-15 minutes. Add carrots, potatoes, onions and garlic and saute. Stir periodically. Drain off excess grease if needed. Add 1/2&1/2, chicken stock, and spices. Cook on medium heat until carrots and potatoes are tender stirring periodically. Add kale and simmer another 5-10 minutes so kale remains bright green. 

Homemade cornbread goes very well with this soup. 

Note: This will not freeze well because of the cream so please share with friends/neighbors/family what you don't think you can eat.

Bon appetite!


Wednesday, December 8, 2021

Holiday cheer for your coffee


I never knew I liked eggnog until I tried Clover organic eggnog. I'm sorry for those of you not in No. Cal. and Clover country. This stuff is really delicious.

I add a little to my coffee along with some half & half this time of year.

And it makes delicious ice cream too. You'll need:

  • ice cream maker
  • 2 cups heavy organic whipping cram
  • 2 cups eggnog
  • pinch of kosher salt
  • 1/4-1/3 cup maple syrup
  • 1-2 teaspoons cinnamon
  • dash of nutmeg
  • 2 teaspoons vanila 
Bon appetite and Happy Holidays!


Sunday, October 18, 2020

Squash blossom veggie soup

This recipe is based on a Rick Bayless Golden Squash Blossom Crema recipe. I've made modifications based on my tastes - nothing fancy just adds more layers of flavor.

Here's what you'll need:

  • 2 tablespoons good olive oil
  • 3-5 garlic cloves skinned and sliced or minced
  • 1 medium to large sweet white, yellow or red onion, peeled and chopped
  • 3 cups beef stock or Rebecca Katz* chicken stock or magic mineral broth
  • 5-25 squash blossoms. (I use what I'm given by my generous friend, Musetta.) Both male and female blossoms can be used. The female blossom can be separated from the baby squash and added as a delicious addition. Gently wash blossoms, remove center and stems, and thinly slice. Baby squash is washed and sliced.
  • 1-2 zucchini or other squash rinsed and chopped
  • 2 fresh poblano peppers plus 2-3 other fresh chilis. I buy what I can find at my farmers market. More than one type of chili will add more flavor depth - and you don't have to use hot peppers like a jalapeño. 
  • 2-3 carrots, washed, peeled or scrubbed, and sliced
  • 2 white corn ears 
  • Sour cream or Creme Fraiche for garnish
  • Dash of chipotle powder to garnish (I like Simple Organic. Join their coop for even better prices)
Roast peppers on a BBQ or broil until dark brown or black - but be careful to not over char. Place on a plate and cover with a dish towel to steam and cool. Then skin and seed them. Slice and chop the chile 'meat.' 

Soak corn ears, drain and BBQ in the husks for 10 minutes. Remove and cool, husk and rinse. In a deep bowl or pot, cut the kernels from the cob.

In a medium to large soup pot, add olive oil, garlic and onions. On medium heat cook until golden. Add squash, carrots, corn, and chilis. Sauté for 8-10 minutes.

Add the stock and cook another 15-20 minutes until hot and bubbling. Add the sliced blossoms last and cook another 5-8 minutes. 

Serve with sour cream and dash of chili powder. I also sometimes top with some grated cheese.

Bon appetite!

*Rebecca Katz soup stock recipes are easy and AMAZING! Once you start making them, you won't want to ever buy store bought again. Tip: Make and store in glass jars in the fridge overnight and then freeze. If you place in freezer too soon, your jars may crack.

Monday, August 3, 2020

Kabob topper

Grilled vegetables are delicious on their own - but if you want to dress them up and add some complexity in flavor, try this new recipe I created last night. 

Here's what you'll need:
Bamboo skewers, soaked in salt water for 10-15 minutes.

Washed, halved or quartered into large bite size pieces array of organic veggies to grill.
  • Bell peppers in assorted colors
  • Mushrooms
  • Sweet red or yellow onions
  • Zucchini and assorted squash
Topping
  • Emulsifier or a blender
  • 2 green onions washed and ends cutoff
  • 1/4-1/3 cup Mayonaise
  • Sierra Nevada Stout mustard or other good jarred mustard
  • Omnivore salt and fresh ground pepper to taste
  • 1/2 teaspoon dried tarragon
  • 1- 1 1/2 Tablespoons fresh lemon juice

Combine all of the topping ingredients in a glass jar and emulsify until smooth and creamy or add into the blender until smooth. I used a ladle to pour over my grilled veggies, but this can also be used as a dipping sauce.

We served these with burgers (1/3 ground lamb, 1/3 ground beef, 1/3 ground pork with an egg, rosemary, oregano, and salt and pepper - this is my friend Elaine's recipe.)

Bon Appetite!


Monday, July 20, 2020

Dutch Baby with Prosciutto & Triple Cream Brie

This is so easy and it freezes well - so a perfect candidate for a leftover lunch munch. I found this recipe in the New York Times and continue to modify it based on what I have in my freezer and fridge. Also, do bake it in a large caste iron skillet if you have one. It's part of the magic.

You'll need:
  • 1/2 cup of bacon or prosciutto, chopped 
  • 1 cup King Arthur gluten free flour or regular flour
  • 1/2 teaspoon Omnivore salt of kosher salt
  • 1/4 teaspoon ground black pepper
  • 1/4 teaspoon baking powder
  • 8 free range fresh eggs (I purchase mine from a farmer at my farmers market)
  • 3/4 cup half and half or whole milk
  • 1/4 cups grated Parmesan or Romano
  • 1/4 cup chopped chives (If you don't have fresh, I suggest Simply Organic brand)
  • 4 tablespoons unsalted butter
  • 1 wheel of Camembert or triple-cream Brie, rind on and cut into 1/4 slices (I purchased a large wedge instead of a wheel at my Costco)
Heat oven to 425 degrees. Place bacon or prosciutto in a caste iron or oven-safe skillet, and cook on medium heat stirring periodically until the pork is crispy and the edges are brown. (Tip: I had sweet red onion I added this time to the pork.) Drain off majority of fat as needed. 

Add butter until it just melts. Stir the butter and pork.

In a 2 cup or larger measuring cup, whisk flour, salt, pepper, and baking powder. In a standup mixer if you have one or medium to large bowl, whisk or beat eggs, and half and half or milk. Gradually, whisk/beat in the flour mixture. Then add the Parmesan or Romano cheese and half the chives.

Pour your batter into the skillet and quickly arrange the slices of cheese in the center of the skillet.

Bake your oven-safe skillet filled with deliciousness until puffed and golden - about 20-25 minutes. Sprinkle with remaining chives.

Serve immediately with a green or fruit salad. I like a red balsamic dressing on either.

Bob Appetite! 

Wednesday, April 29, 2020

Rice Flour Cupcakes

This recipe is adapted from the NYT. Instead of making a poundcake, I made cupcakes. This made a lovely Sunday brunch for me before working in the garden. Also, I found rice flower easier to find during this COVID 19 pandemic.

Here's what you'll need:
Paper muffin cups
4 tablespoons butter
4 tablespoons coconut oil
1 1/2 cups white rice flour
1/4 teaspoon baking powder
1/4 teaspoon baking soda
1/4 teaspoon fine sea salt

1/4 teaspoon freshly ground black pepper
1 cup granulated sugar (I like the organic sugar from either Costco or Trader Joe's)
2 large eggs, room temperature
1/3 cup sour cream
2/3 cup unsweetened coconut milk or coconut cream
2 teaspoons vanilla bean paste* 
*or substitute vanilla with 1 Tablespoon of tequila and the zest of 1 lemon and 1/2 lemon juice  (1 Tablespoon-ish of lemon juice)

Preheat oven at 350 degrees. Place paper muffin  cups in a muffin tin. Melt coconut oil and butter in a small saucepan over low heat. Combine rice flour, baking powder and soda, salt and pepper in a bowl and whisk to blend. Using a Kitchen Aid or electric hand mixer, blend coconut oil, butter, and sugar at medium speed until fluffy. Add eggs until creamed and slowly add flour mixture. Add sour cream, then coconut milk or cream and vanilla. 

Fill muffin cups with batter. Bake about 35-40 minutes until golden and a toothpick inserted into the center comes out clean. Cool cupcakes on a wire rack.

Bon Appetite!
Lemon tequila are so good too!

Sunday, April 19, 2020

Devilishly good eggs


I celebrated my 1st Easter solo this year. I missed being with my family, but it was also liberating to not follow any schedule. This gave me more time to focus on making deviled eggs which I haven't made in more than a decade. I had forgotten how easy they are to whip up - literally. With more time on my hands, I got creative and looked at what I had in my garden and refrigerator for toppings.

Depending on how many people will be enjoying your devilish good deviled eggs, here's what you'll need:

* 4-12 eggs (I prefer the taste and smell of free range which I purchase get at my Farmers Market, Trader Joe's, etc.) 
* Wet (the kind you keep in your frig. after opening) + dry mustard
* Mayonaise
* Salt & pepper

In a small pan or pot fill approximately 2/3 full of water so that the eggs will be covered in water. Place the pan on your stovetop and gently add the eggs. Add a pinch or two of salt to the water. Turn heat to medium. You want to bring the water to a boil but not a vigorous one; from when I turned on the stovetop to when I drained the water from the pan and added ice for an ice bath, it was 20 minutes. The ice bath for the eggs will help make them peel easier. 

Peel and rinse the eggs. With a cutting board and sharp knife, slice the eggs in half vertically - so top to bottom. Have a small glass bowl handy to put the yolks into. The hard boiled whites can be placed on a plate or a deviled egg plate like my granny's that I used.

You want to add dry and wet mustard, salt and mayo. It's better to start with less and add more because you don't want the egg yolk filling runny. For 5 eggs, I added 1 teaspoon of dried mustard, 2 1/2 teaspoons of wet mustard, 1/2 teaspoon of salt, and 2-3 Tablespoons of mayo. I use a hand whisk to whip the filling, but a fork will work. You want to get the filling as creamy as possible with no or minimal you lumps. 

Taste the filling before you stuff the eggs to make sure you have the right balance for your tastebuds. The toppings are accessories and add flavorful layers - but the base needs to be delicious to build on.


I went with toppings that were either Italian or Mexican food influenced. So fennel greens, capers, cilantro, rosemary blossoms and leaves, arugula leaves and blossoms, various dried chili powders, fresh mushroom and truffle salt. Use what you have and like to eat together but instead of on pasta or a tortilla, you're using your deviled eggs.

Bon appetite!


Friday, April 3, 2020

Cootie Killer Cocktail


Nothing like a pandemic to add to everyone's already fairly stressful lives. I've been staying in place for three weeks now and have at least another four weeks ahead. I do like to cook and eat so I've been going through my cupboards, frig, and freezers to see what I can find and use to limit grocery deliveries and going out to the supermarket. 

I highly recommend local farmers markets if you have one - or when one opens near you for the season. Not only is local grown food I think better for you, but you're also supporting your local economy and fewer people are in the supply chain. Another bonus is I've found the selection and supply fantastic. (You might also look at your local Asian and Hispanic produce markets.)

Here's what you'll need for this Cootie Killer Cocktail:
* Gin or Vodka 
* 3 washed, squeezed oranges
* Unsweetened mineral water
* Optional - Cointreau

I use a highball or water glass to serve. Add 2-3 shots-1/4 cup gin or vodka, orange juice, and fill remaining space in the glass with mineral water. Allow room for ice. This can also be shaken with the ice if you have a cocktail shaker. Optional - 1 shot of Cointreau.

Do not use or add corn syrup or sugar to this cocktail. Sugar is known to empare the immune system. Also, no artificial sweeteners so you want to go totally natural with this cocktail. The Vitamin C in the oranges is also good for your immune system.

And if you're only using alcohol on your exterior right now and not in you interior, this is also delicious without the gin or vodka. 

Cheers and be well!

Sunday, February 16, 2020

Spider Repellent Spray

So this recipe is obviously not for your lunch to munch. I have a lot of spiders where I live and they kind of freak me out. I like them at a distance and do find them super helpful in my yard. But, I don't want them in my house including my kitchen. 

I've been ordering an expensive, organic spider repellent spray that's safe to use around kids and pets, but am tired of the expensive price plus I go through it fast. 

Probably the only drawback with a natural spray is I find you will need to spray once a week or every other week. (Although, even the toxic spider spray wears off.) This one smells really good so I don't think that's a big negative. You can also add lavender oil to it for an even more pleasing aroma.

I created this recipe working from what was listed on the expensive spray I had purchased plus online recipes I found. This is another Trudi original. I hope you find this as effective as I have keeping the arachnids away.

Here's what you'll need for this spider repellent:
  • a spray bottle
  • 1 Tbsp dish soup (I like the unscented, environmentally friendly Costco brand)
  • 1/3 cup white vinegar
  • 1 1/2 cups water
  • 10 drops each of peppermint, spearmint, and rosemary essential oils (I like Aura Cacia brand and purchase at Sprouts)
Add everything to your spray bottle and shake it gently. You're now ready to go and spray away. Note: I have an outdoor, insulated cat house for my backyard feral kitty and this hasn't deterred her form sleeping in her cat house.

Tip: I put the oil drops into the Tablespoon because it was easier for me to count/measure them before emptying into the spray bottle. This essential oil coated spoon is now in my  shower so the next time I shower, I'll have a mini-spa experience.  The aroma of peppermint, spearmint and rosemary filling the bathroom thanks to the hot water and steam.

Look for Fingers, Toes, and Tacos by Trudi Geiszler in March 2020 on Amazon. My 2nd children's story includes an easy taco recipe too.


Sunday, January 5, 2020

Warm, stewed fruit bliss

When the weather is chilly and fresh fruit isn't as accessible, I like stewing fruit to serve with my morning yogurt. Plus as a bargain hunter, I'm also often drawn to the organic dried fruit at Costco which I buy and freeze to maintain longer 'shelf' life. 

Here's what you'll need. Use organic fruit if possible:

  • 3-4 washed and cored apples (A variety is alway good for more complex taste and slight variety in texture.) Slice in bite size chunks, keeping the skin on. This recipe can be made exclusively using apples.
  • 1/3 basket rinsed blueberries - optional ingredient (I had some in the fridge that were starting to dry out and I didn't want to waste them.)
  • 4-5 dried figs and apricots, halved or quartered - optional ingredient
  • 1-2 teaspoons good real vanilla
  • 1 heaping teaspoon of peeled, sliced fresh ginger (or 1/2 teaspoon dried)
  • 1/2 Tablespoon ground cinnamon
  • 1/4 ground or grated nutmeg
  • 1/3 maple syrup
  • 2/3 cup water (I use filtered water from my Brita for cleaner taste.)

Cook on the stove at medium heat for 15-20 minutes until liquid starts to thicken and apples are very tender but not applesauce mushy.


Serve with walnuts or almonds for added crunch if you're serving warm in a bowl.

This fruit can remain in a glass container in your refrigerator for up to two weeks or can be frozen in individual glass jars for single servings. It can then be reheated or I also like to make yogurt smoothies with it. You just add yogurt and coconut water.


Bon appetite! Cheers to a healthy and prosperous 2020.


Sunday, September 8, 2019

Against the grain

I have my sister to thank for introducing me to Against the Grain pizza and my friend Musetta to thank for encouraging me to Blog what I do with food. This pizza isn't the cheapest, but I think it's the best frozen pizza. And you won't even know it's also gluten free. The crust is amazing if you're a thin crust lover.

Since I started eating gluten free about a year and a half ago, I've really missed my Round Table Pizza with pepperoni, extra garlic,  mushrooms, and black olive toppings. My solution now is to buy an Against the Grain pizza and add toppings to customize it more to my taste. The additional cost doesn't have to be a lot - unless you're adding black truffles like I do periodically.

I'm also a big cheese lover so I usually add some Romano or Parmesan on top of my other toppings before baking it for extra cheesy goodness.

If you're looking for a variation to this, I also like their three cheese pizza. I'll add prosciutto and black truffles before baking. I love how the prosciutto gets really crispy. You can also add some arugula at the end for color and mild peppery flavor.

Serve with a side salad and the beverage of your choice, and you have a delicious and simple lunch or dinner - and no need to dial out and order.

Bon appetite!